The Onshelf Items wizard generates a real-time list of materials that are currently available on your shelves to fill active holds. Regularly processing this list ensures that patron requests are fulfilled quickly.
1. Generating the List
- Locate and click the Onshelf Items wizard within the CIRC Toolbar.

- Customize your view: You can reorder the data by clicking and dragging column headers (such as Call Number or Title) to the left or right to suit your preferred pulling order.

2. Exporting and Printing
Once you have sorted your list, use one of the following methods to create a physical copy for retrieval.
Option 1: Export to Microsoft Excel (Recommended)
Exporting to Excel allows you to format the list or remove unnecessary columns before printing.
- Click anywhere inside the list of items.
- Press CTRL + A to select all entries, then CTRL + C to copy the data.
- Open a blank Excel spreadsheet and press CTRL + V to paste.

- Print the spreadsheet using Excel's print menu.
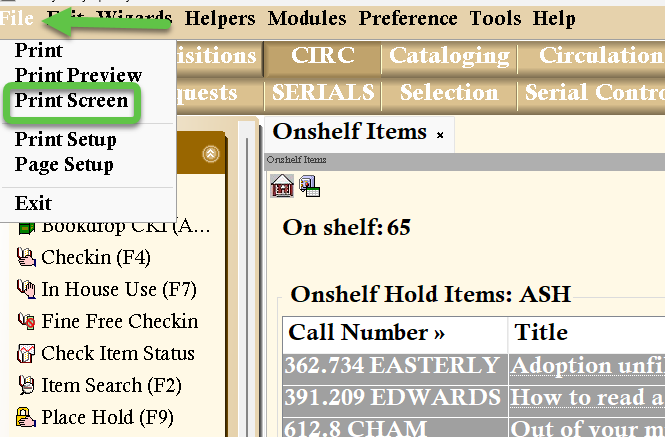
Option 2: Print Screen
- With the wizard open, click File in the top menu bar.
- Select Print Screen to send the current view directly to your printer.
3. Processing Items Found on Shelf
After retrieving the physical items from your collection, they must be "trapped" in the system to trigger the hold and notify the patron.
Using the Trap Holds Wizard
- Select the Trap Holds wizard from the CIRC Toolbar.
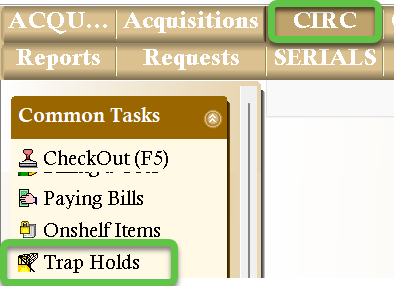
- Scan each item's barcode. Follow the on-screen instructions or the printed transit slip to route the item to your holdshelf or to the appropriate delivery hub.

Handling Missing Items
If an item is on the list but is not found on the shelf after a thorough search, it must be marked missing so the hold can be redirected to another library.
- Highlight the title in the Onshelf Items list.
- Click the Mark Item Missing button at the bottom of the screen.

- Click OK when the confirmation prompt appears.

Note: Marking an item missing removes it from the Onshelf list and automatically checks it out to your library's designated MISSING user account.