Once a group has been created in the Item Group Editor (IGE), you can add additional items to that list at any time.
Note: If the items currently in the group have already been edited, you will need to run the edit process again to apply those changes to the newly added items.
- From the TECH Toolbar, click on the Item Group Editor wizard.

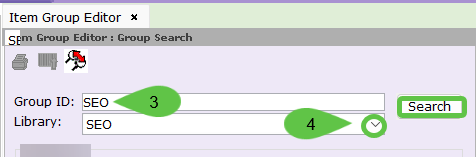
- Click on the Item/Group Search Helper (the magnifying glass icon).

- In the Group ID field, enter the group name (or the beginning of the name).
- In the Library field, use the dropdown to select your library, then click Search.
- Select your group from the results and click Manage Group. (Note: If only one group is found, it will open automatically).

- Click the Add Items helper. This will open the addition interface.

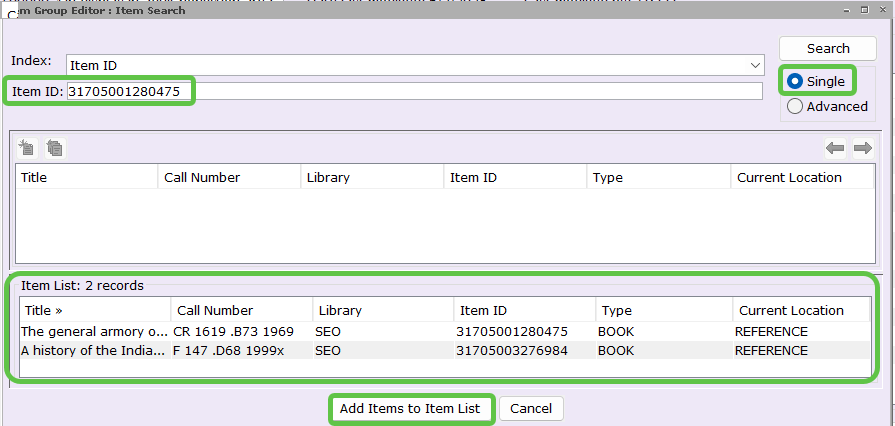
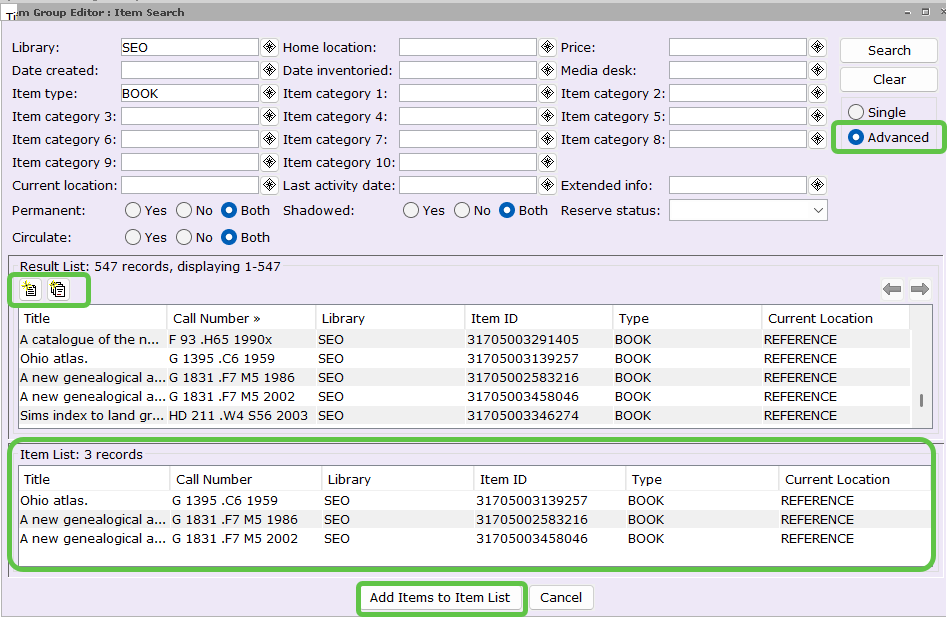
- Choose your method to add items:
- Single Method: Select Single and scan the item barcodes. When done click Add Items to Item List.
- Advanced Method: Select Advanced to search for items. Use the Add Selected Hepler or the Add All Helper to move items to the list, then click Add Items to Item List.
- Single Method: Select Single and scan the item barcodes. When done click Add Items to Item List.
- Click Save Group to finalize the additions.

- Click OK on the confirmation pop-up.
